
Homemade hair masks are like superfood for your hair, delivering intense nourishment that can transform dry, damaged strands into silky, vibrant locks . If you’ve been struggling with hair that refuses to cooperate despite expensive products and salon treatments, nature might have the solution you’ve been searching for.
Although there’s no overnight miracle for creating stronger, thicker hair , incorporating DIY hair masks twice weekly can significantly restore strength and hydration to chemically treated or damaged hair . These natural treatments work by penetrating deeply into your hair shaft, providing the intensive care needed for your mane to bounce back stronger and look better .
By harnessing the natural power of ingredients from your kitchen, you can effectively nourish your locks from within, promoting growth, thickness, and overall vitality . In this guide, we’ll share professional hairstylists’ secret recipes for creating powerful homemade hair masks tailored to various hair concerns—from dryness and frizz to growth challenges and scalp issues. Additionally, you’ll discover exactly how to prepare, apply, and incorporate these treatments into your regular hair care routine for maximum benefits. Ready to transform your hair naturally? Let’s dive in!
Why Natural Hair Masks Work Better Than Store-Bought
“Mayonnaise is loaded with amino acids and protein. This helps promote healthy hair growth. In addition mayonnaise is a great way to add moisture back into your hair as well as stop frizz.”
— Melissa Denise, Beauty Vlogger and DIY Hair Care Expert
In the world of hair care, natural ingredients have gained immense popularity as alternatives to commercial products. DIY hair masks stand out as powerful treatments that offer exceptional benefits your store-bought products simply cannot match.
Fewer chemicals, more nutrients
When you scan the ingredient list of commercial hair masks, you’ll often find sulfates, parabens, artificial fragrances, and preservatives that can damage your hair over time [1]. Homemade hair masks, conversely, eliminate these harmful chemicals while delivering pure nutrition directly to your strands.
Natural DIY masks are packed with vitamins, minerals, and antioxidants that nourish your hair from root to tip [1]. These masks contain nutrients in their most bioavailable form, allowing for better absorption and effectiveness. For instance, ingredients like avocado provide essential fatty acids that penetrate the hair shaft [2], while eggs contribute proteins that strengthen weakened strands [3].
Furthermore, many kitchen ingredients possess remarkable properties for hair health. Aloe vera contains vitamins C, E, and B-12 along with folic acid and choline that soothe your scalp [3]. Meanwhile, coconut oil has a low molecular weight that allows it to penetrate deeply into the hair shaft, reducing protein loss and providing intensive moisture [3].
Customizable for your hair type
Perhaps the most significant advantage of homemade hair masks is their adaptability to your specific hair needs [1]. Commercial products typically target broad categories of hair concerns, but DIY masks can be precisely tailored to address your unique hair issues.
You can easily adjust ingredients based on:
- Hair texture (fine, medium, coarse)
- Condition (dry, oily, damaged, color-treated)
- Specific concerns (frizz, breakage, scalp problems)
This customization ensures optimal results compared to one-size-fits-all store products [4]. For example, those with dry hair might benefit from avocado and olive oil combinations, whereas oily hair types might prefer egg whites and lemon to remove excess sebum [2]. Subsequently, understanding your hair type allows you to select ingredients that address its unique challenges effectively [5].
Cost-effective and easy to make
Commercial hair masks can cost anywhere from $15 to $50 per container, whereas the ingredients for homemade versions likely already exist in your kitchen [6]. A single avocado, for instance, costs less than most commercial masks and can create multiple treatments when combined with other household ingredients [7].
Beyond savings, the preparation process is remarkably straightforward. Most DIY recipes require just mixing a few ingredients in a bowl before applying them to your hair. The simplicity means you can create these treatments in minutes without specialized equipment [8].
Moreover, homemade masks contain ingredients you can pronounce and understand, giving you complete control over what touches your scalp and hair. This transparency is particularly valuable for those with sensitivities or allergies who need to avoid certain substances [9].
When comparing long-term benefits, natural hair masks consistently deliver excellent results without the recurring expense of store-bought alternatives. Their effectiveness comes from working with your hair’s natural chemistry rather than attempting to artificially alter it with synthetic compounds.
How to Prepare and Apply Hair Masks at Home
The effectiveness of homemade hair masks depends not just on quality ingredients but also on proper application techniques. Getting the most from your DIY treatments requires following specific steps that professional hairstylists use to maximize absorption and benefits.
Start with clean, damp hair
Proper preparation creates the perfect foundation for mask application. Initially, wash your hair with a gentle shampoo to remove product buildup and open the hair cuticles. This crucial first step ensures your homemade hair mask can penetrate effectively rather than sitting on top of dirty strands.
After shampooing, gently squeeze out excess water with a towel until your hair is damp but not soaking wet. As a matter of fact, applying masks to overly wet hair can dilute the treatment and prevent proper absorption. Simultaneously, completely dry hair might not absorb the nutrients effectively.
For those with thick or long hair, consider using a microfiber towel to remove excess moisture without creating friction that could damage your strands. Alternatively, a cotton t-shirt works well if you don’t have a specialized hair towel.
Use a wide-tooth comb for even application
Once your hair is properly prepped, it’s time to apply your homemade mask. First, divide your hair into manageable sections—typically three or four parts secured with clips—to ensure thorough coverage. This sectioning technique is especially important for those with thick or curly hair.
Begin applying the mask at mid-lengths, working toward the ends where damage is typically concentrated. For extremely dry hair, you can apply the mask from roots to ends; however, those with oily scalps should avoid applying oil-based masks directly to the roots.
After application, one essential step many people overlook is using a wide-tooth comb to distribute the product evenly. This technique ensures complete coverage and helps detangle your hair simultaneously. Properly, comb through each section from roots to ends, allowing the mask to coat every strand evenly.
Cover with a warm towel or shower cap
Heat is your secret weapon for maximizing hair mask benefits. Consequently, after applying your homemade hair mask and combing it through, cover your hair with a shower cap or plastic wrap to prevent dripping and mess.
Next, wrap a warm towel around your head over the shower cap. This heat-trapping technique opens the hair cuticles further, allowing the nourishing ingredients to penetrate more deeply into the hair shaft. In order to prepare the warm towel, simply wet a clean towel with hot water, wring out excess moisture, and microwave it for 20-30 seconds until warm but not scalding.
Leave the mask on for the recommended time—usually between 5-30 minutes depending on your hair’s condition. For extremely dry or damaged hair, you can extend the treatment time up to 30 minutes. Some people even leave certain masks overnight, though this works best with lighter, less sticky formulations.
During this waiting period, the warm environment created by the towel and shower cap helps activate the ingredients in your homemade hair mask. Furthermore, this method transforms a simple treatment into a spa-like experience that can be incorporated into your self-care routine.
Remember that the success of homemade hair masks largely depends on consistent application techniques. Essentially, by following these professional application methods, you’ll maximize the benefits of your natural ingredients and achieve salon-quality results without leaving home.
5 Hairstylist-Approved DIY Hair Mask Recipes
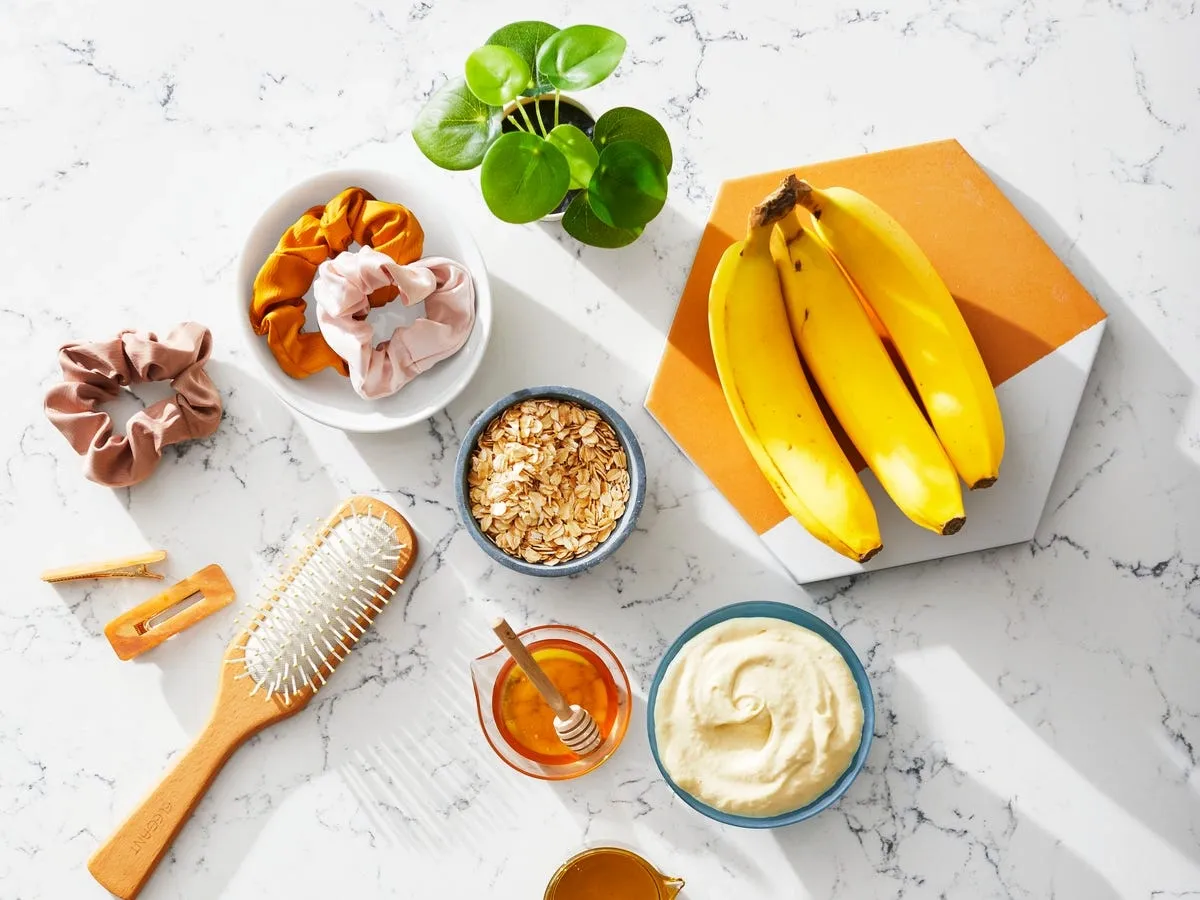
Image Source: Good Housekeeping
Creating professional-quality hair treatments at home requires knowing which ingredients work best together. These five recipes target different hair concerns with powerful natural combinations trusted by stylists.
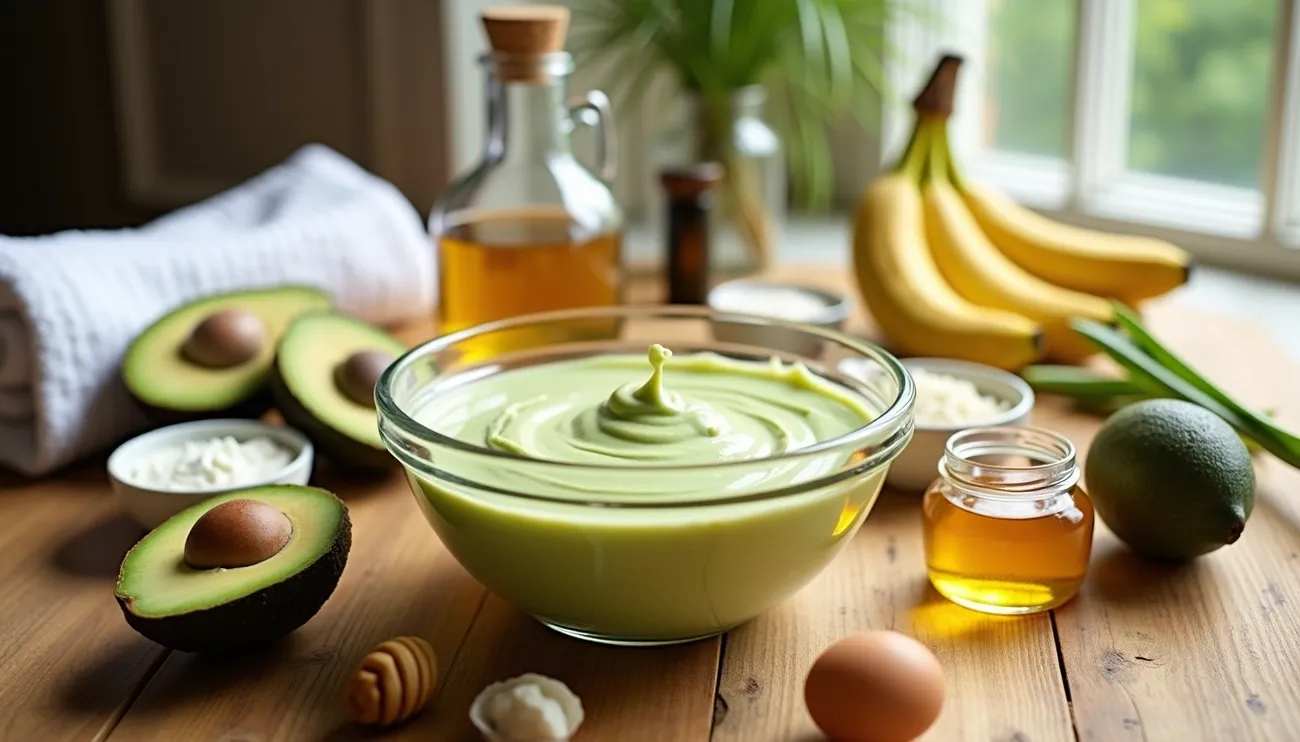
Avocado, Egg & Olive Oil Mask for Dry Hair
This powerful trio delivers intense moisture and nourishment to parched strands. Avocados contain natural oils and beneficial fatty acids that provide exceptional hydration. The egg adds protein that strengthens hair and protects against split ends and heat damage, while olive oil adds shine and seals in moisture.
Recipe: Blend ½ ripe avocado, 1 whole egg, and 1 tablespoon olive oil until smooth. Apply from roots to tips using gloves or fingers. Leave on for 20-30 minutes before rinsing with lukewarm water. For extra conditioning, warm the mask with a hairdryer for 5 minutes before letting it rest.
Banana & Honey Mask for Frizz Control
Bananas contain high silica content that helps smooth hair and add shine. The fruit’s moisture-binding properties tame flyaways, coupled with honey’s exceptional humectant abilities that lock in hydration.
Recipe: Mash 1 ripe banana thoroughly (or blend for smoother consistency) and combine with 2 tablespoons of honey. Apply to damp hair, focusing on frizzy sections. Cover with a shower cap and wait 30 minutes before rinsing thoroughly with cool water.
Yogurt & Fenugreek Mask for Hair Growth
This combination is an ancient remedy for stimulating growth and strengthening strands. Fenugreek seeds are rich in proteins and nicotinic acid that help prevent hair loss, alongside yogurt’s lactic acid that gently exfoliates the scalp.
Recipe: Mix 1 tablespoon fenugreek seed powder with 5-6 tablespoons plain yogurt. Let sit for 2-3 hours until the mixture thickens slightly. Apply to scalp and hair, leave for 20-30 minutes, then rinse thoroughly.
Aloe Vera & Castor Oil Mask for Scalp Health
Aloe vera contains vitamins A, E, C, and B12 that nourish follicles while soothing irritation. Castor oil adds antimicrobial properties that help maintain a healthy scalp environment.
Recipe: Combine 2 tablespoons fresh aloe vera gel with 2 tablespoons castor oil. Add 5 drops of tea tree oil if you’re dealing with dandruff. Apply primarily to the scalp, massaging gently. Leave on for 30 minutes before shampooing.
Coconut Milk & Rice Water Mask for Shine
Inspired by centuries-old beauty traditions from Asia, this mask combines rice water’s amino acids and vitamins with coconut milk’s moisturizing properties for extraordinary shine.
Recipe: Prepare rice water by soaking 1 cup of rice overnight, then straining. Mix ½ cup rice water with ½ cup coconut milk and 1 tablespoon honey. Apply evenly throughout hair, leave for 15-20 minutes, and rinse with cool water for maximum shine.
How Often Should You Use Homemade Hair Masks?
Finding the right frequency for applying homemade hair masks directly impacts their effectiveness. Just like watering a plant, your hair needs proper nourishment—neither too much nor too little.
Weekly for dry or damaged hair
Dry and damaged hair typically lacks natural oils and moisture, making it more receptive to frequent treatments. If your strands feel brittle or show visible damage from heat styling or chemical treatments, applying a homemade hair mask 2-3 times per week can significantly restore moisture and strength [10]. Indeed, for severely damaged locks, using a nourishing mask with each wash helps seal the hair shaft and lock in needed hydration [11].
Pay attention to how your hair responds after each application. If it feels heavy or greasy, you might be overdoing it. Generally, even for the driest hair, a maximum of three weekly treatments provides optimal results without product buildup [12].
Every 10 days for oily or fine hair
For those with fine or naturally oily hair, less frequent masking prevents overwhelming your strands. Applying masks too often can weigh down delicate hair and disrupt your scalp’s natural oil balance [11]. Accordingly, limiting homemade hair masks to once every 7-10 days gives your hair beneficial nourishment without causing it to look flat or greasy [10].
Fine hair particularly benefits from protein-rich ingredients like eggs rather than heavy oils that might diminish volume [13]. Remember that moderation is key—homemade masks become less effective when overused, potentially weighing down your hair with excess product [14].
Twice a month for maintenance
If your hair is relatively healthy and you’re primarily using masks for maintenance, twice-monthly applications strike the perfect balance [15]. This schedule allows your hair to benefit from deep conditioning while preventing potential hygral fatigue—the hair damage that can occur from excessive moisture exposure [12].
Some hair care professionals recommend alternating between a quick 5-minute mask weekly and a longer, more intensive treatment monthly [15]. This approach provides regular care while allowing for occasional deeper nourishment. Nonetheless, the best frequency ultimately depends on your individual hair’s response—observe how your strands look and feel after each treatment, then adjust accordingly [16].
Post-Mask Care and Styling Tips
After your homemade hair mask has worked its magic, proper aftercare ensures those benefits last longer. The final steps can make or break your hair treatment results.
Rinse with cool water
Once your mask has sat for the recommended time, thoroughly rinse with cool or lukewarm water. This critical step seals the hair cuticles, locking in all the moisture and nutrients your homemade mask just delivered. Hot water, on the contrary, can reopen cuticles and strip away natural oils, undoing the mask’s benefits. Even if you can’t tolerate cold water, at least finish with a cool rinse for that extra shine boost.
Use sulfate-free shampoo if needed
Sometimes a thorough rinse isn’t enough to remove all mask residue, especially with oil-heavy formulations. In such cases, reach for a sulfate-free shampoo. Unlike traditional cleansers, these gentler formulations clean without stripping away the natural oils your homemade mask just replenished. Sulfate-free shampoos preserve moisture while effectively removing any leftover mask ingredients that might weigh down your hair.
Avoid heat styling right after
Give your freshly masked hair time to recover before subjecting it to heat tools. The nutrients and moisture from your homemade hair mask need time to fully absorb and work their magic. Instead, opt for air-drying or heatless styling methods like braids or twists that create texture without damage. Should you absolutely need styling, apply a heat protectant first to safeguard those newly nourished strands.
Natural hair masks offer a powerful alternative to commercial products, providing your hair with essential nutrients directly from your kitchen. Throughout this guide, you’ve discovered how homemade treatments deliver concentrated nourishment without harmful chemicals while saving money. Additionally, these DIY solutions can be perfectly tailored to address your specific hair concerns, whether you struggle with dryness, frizz, growth issues, or scalp problems.
Remember that proper application techniques significantly enhance the effectiveness of your homemade masks. Clean, damp hair, thorough coverage, and heat activation through warm towels create the ideal environment for nutrients to penetrate deeply. Therefore, following these professional methods ensures you’ll achieve salon-quality results at home.
The five stylist-approved recipes shared above provide a starting point for your natural hair care journey. Consequently, you can experiment with different combinations as you learn what works best for your unique hair type. Just as important as the ingredients is the frequency of application—twice weekly for damaged hair, every 10 days for oily types, or twice monthly for maintenance.
Your post-mask routine matters equally. Cool water rinses, sulfate-free products, and minimal heat styling help preserve the benefits of your treatments. Above all, consistency remains key to transforming your hair’s health and appearance over time.
Though commercial products promise instant results, these natural alternatives work with your hair’s biology rather than against it. Start small with one recipe that addresses your primary concern, then adjust ingredients based on your hair’s response. The journey to healthier hair happens one mask at a time—your kitchen likely contains everything needed to begin today.
References
[1] – https://www.brondeblvdsalon.com/blog/revitalize-your-hair-with-diy-hair-masks
[2] – https://www.goodhousekeeping.com/beauty/hair/g29627145/diy-hair-masks/
[3] – https://naturalhair.org/blogs/news/hair-masks-what-are-they-all-about?srsltid=AfmBOoq5t2GUfGEju0pjnikdMfnA7HbqqC_ExKzfEiX0x8yZRmtaEVYx
[4] – https://www.karseell.com/why-every-hair-type-needs-a-customized-hair-mask-treatment/
[5] – https://koreancosmetics.cy/homemade-vs-store-bought-hair-masks-which-is-better/
[6] – https://www.karseell.com/diy-hair-mask-natural-remedies-for-gorgeous-hair/
[7] – https://www.luxyhair.com/blogs/hair-blog/7-diy-hair-masks-we-know-youll-love?srsltid=AfmBOorsKwqG40dvqCjErgo1SrTyPCliUS4G7GyXeTLpeDcmE-1KHehO
[8] – https://www.luxyhair.com/blogs/hair-blog/7-diy-hair-masks-we-know-youll-love?srsltid=AfmBOoq116lw21FR8a9ruY2fAPHnWZ2JJgVtCM8FGKW0tD81-HSPtD6b
[9] – https://originesecret.com/blogs/all/why-organic-hair-masks-are-the-superior-choice-for-healthier-hair
[10] – https://www.livingproof.com/blogs/hair-101/how-often-should-i-use-a-hair-mask?srsltid=AfmBOoqF3Z-Nn6HODyEEI8so-hlw0KfbGK_acXG5gRjkkHOt-Apq07eZ
[11] – https://www.livingproof.com/blogs/hair-101/how-often-should-i-use-a-hair-mask?srsltid=AfmBOorhat2eM8w4Og3N5tPl1FxW6vConVPJTfSXLzjfcVfQVx0iYTWg
[12] – https://odelebeauty.com/blogs/the-rinse/how-to-use-a-hair-mask?srsltid=AfmBOoqMKcSS3YKmT9ztV5WqXu3FSU018gWG6Y40xNc0JCVbRgATtj4W
[13] – https://buycosmetics.cy/how-often-can-you-safely-use-diy-hair-masks-expert-advice/?srsltid=AfmBOor4FL_U41ZFtX2b3oItMcFQkwWhTdzPdMq_qscY5UBbm6eoMPax
[14] – https://us.davines.com/blogs/news/how-often-should-i-use-a-hair-mask?srsltid=AfmBOopZ4Gs45j10-zJGru16N4Let7vVDbreKvj3f5ibs4BiedRxzRbT
[15] – https://www.faithinnature.co.uk/blogs/notes-on-nature/how-often-should-you-use-a-hair-mask
[16] – https://gisou.com/blogs/blog/how-often-should-you-do-hair-mask